Last updated November 22, 2026
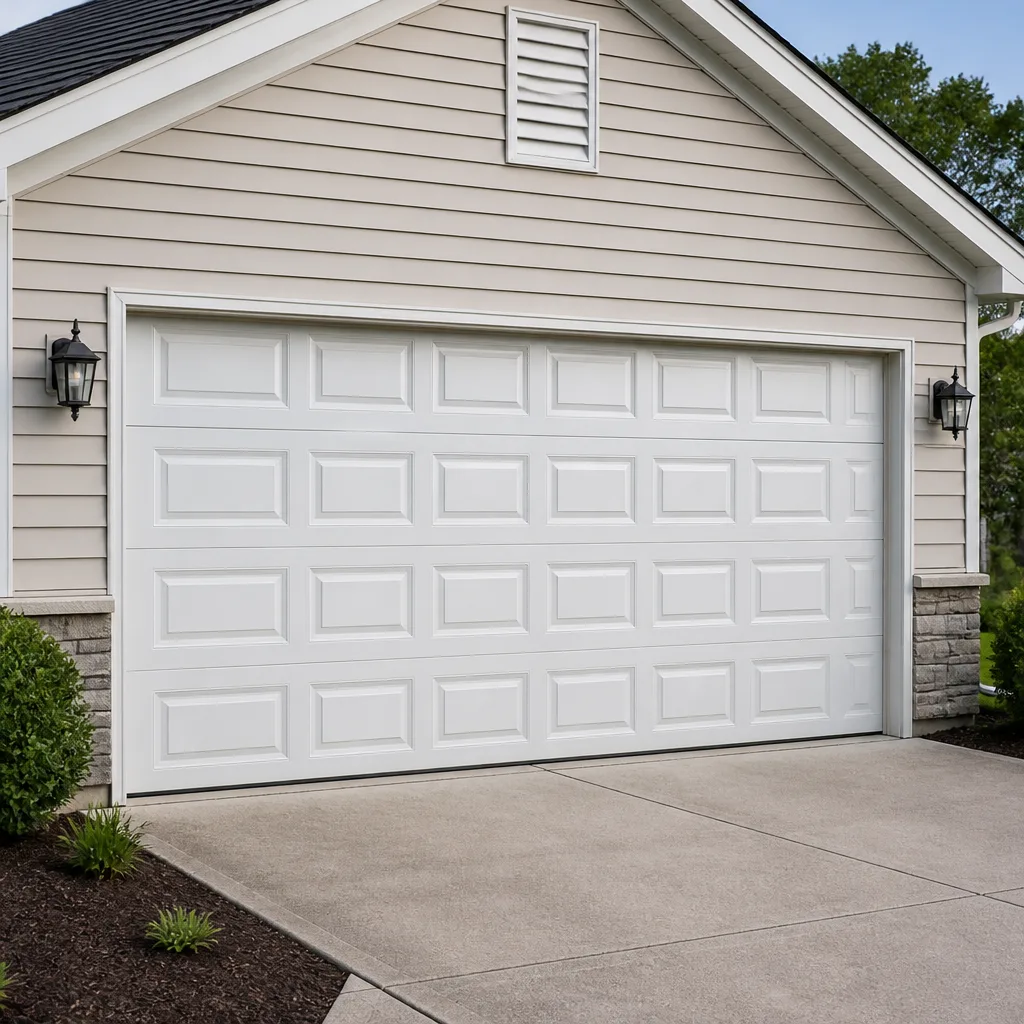 Raised-panel steel
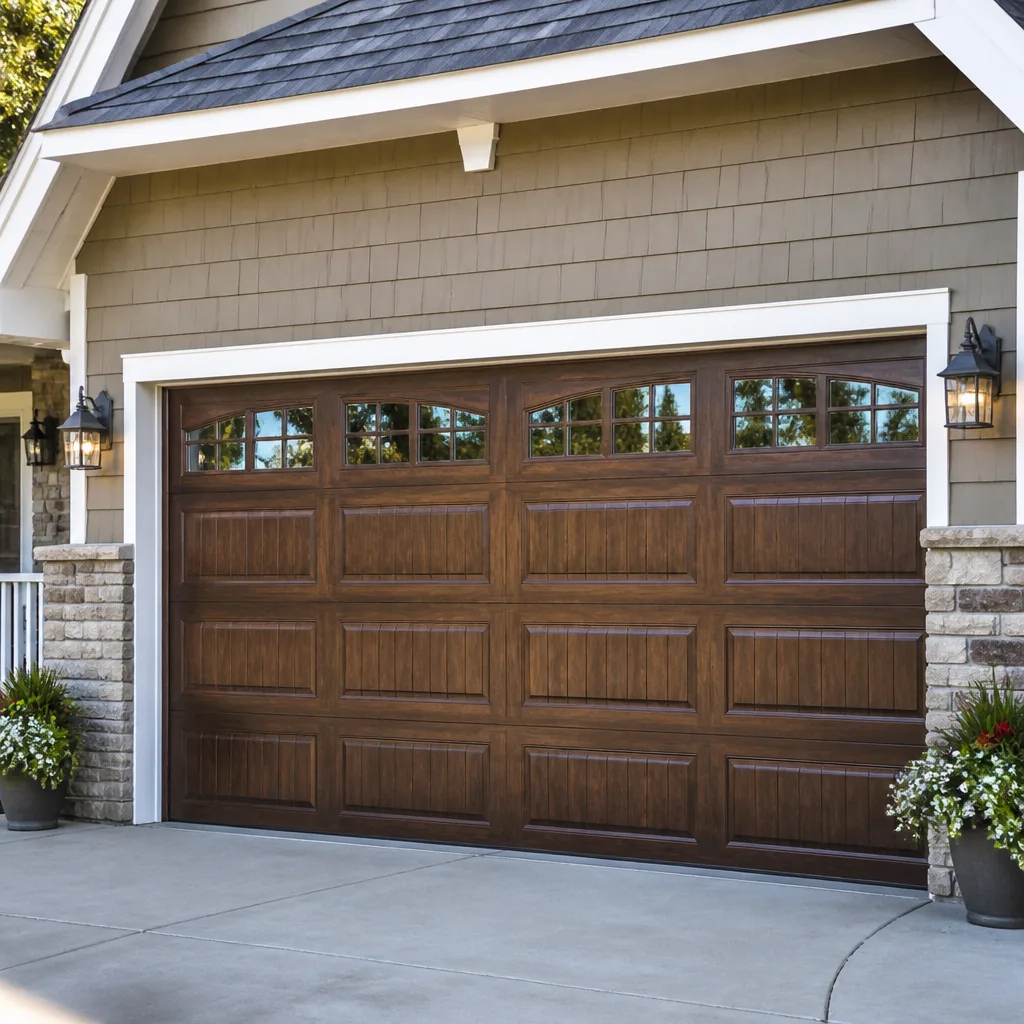
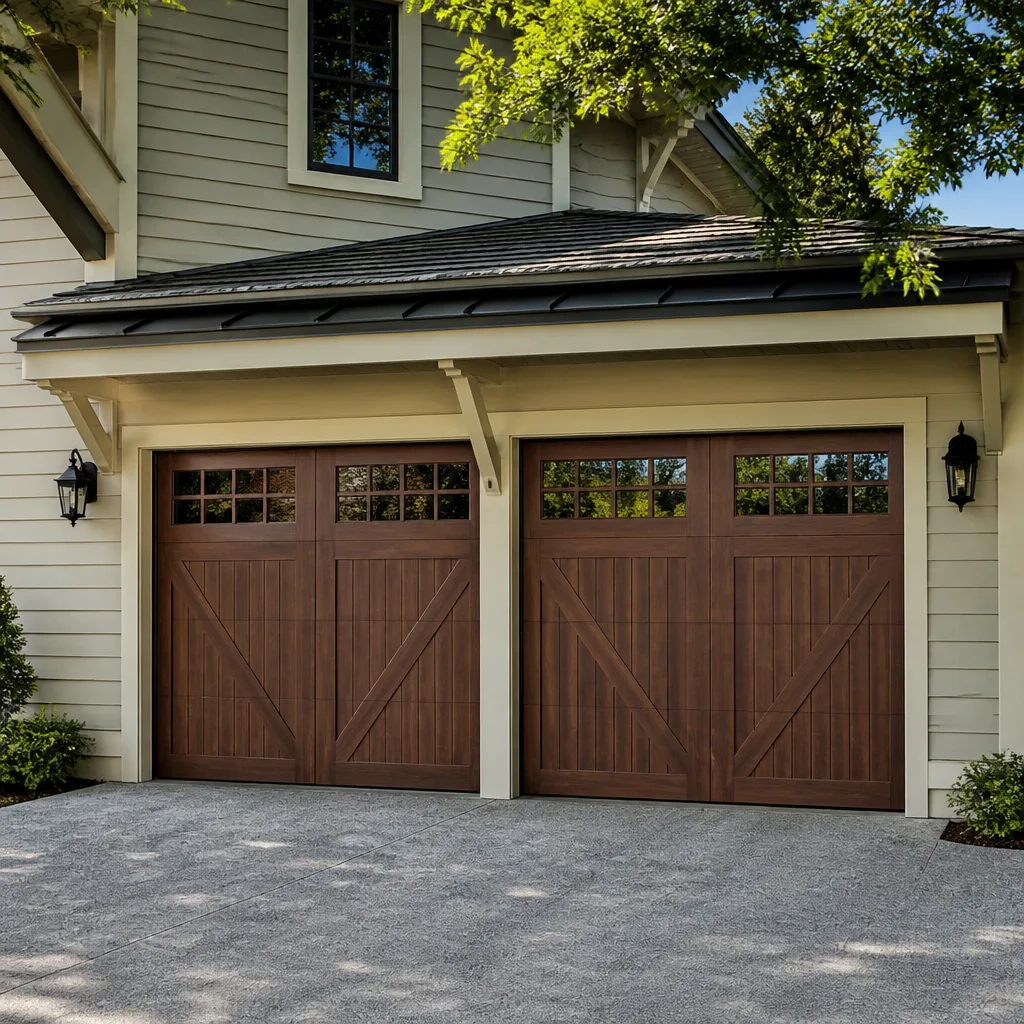 Carriage house
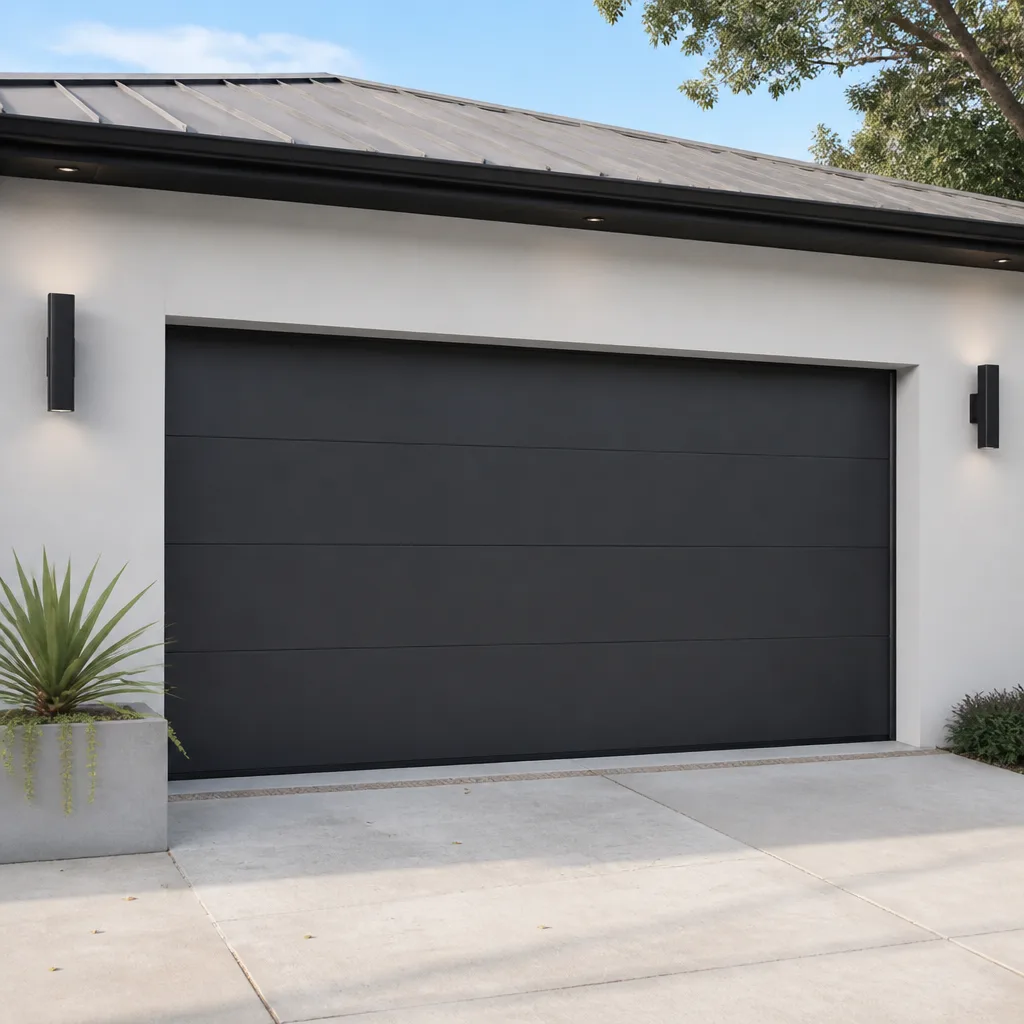 Modern flush
 Full-view glass
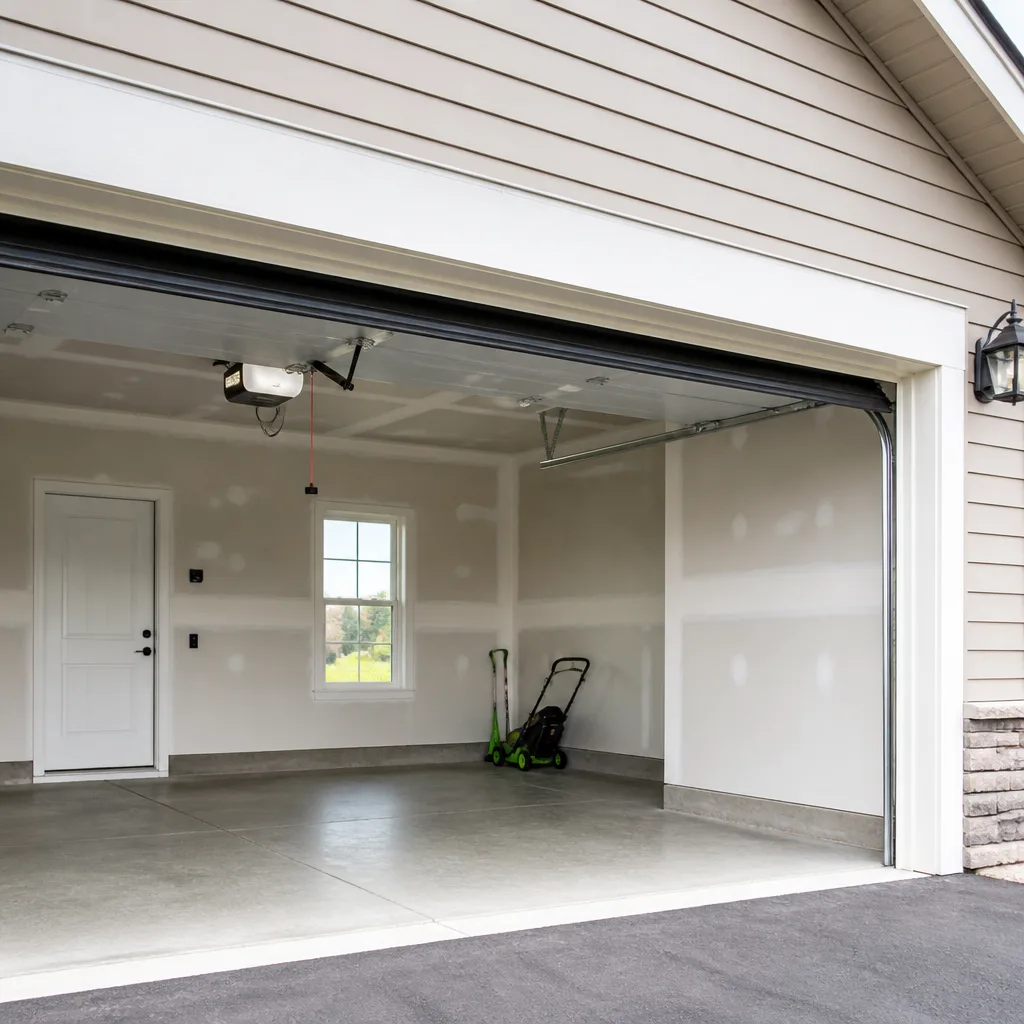 LiftMaster openers
 Chamberlain openers
Full 25-point door and opener safety check with every visit - springs, cables, rollers, tracks, and your LiftMaster or Chamberlain opener included
You get a price before we start. It does not change when the pro arrives.
Get your free estimateDIY vs Professional Garage Door: The Cherry Creek Homeowner’s Decision Guide
Here’s the part most garage door guides get wrong: they treat every task the same. A torsion spring under tension holds enough stored energy to break a wrist in under a second. Reprogramming your opener’s travel limits takes three minutes, a stepladder, and no risk at all. Those two jobs are not the same conversation, yet most advice lumps them together under “call a pro” or “try it yourself.” We work on garage doors every day, and we think Cherry Creek homeowners deserve an honest line between what’s safe to handle and what genuinely belongs to a trained technician. This guide draws that line task by task, explains how DIY work can affect your warranty, and runs the real cost math.
Quick Answer
Most garage door maintenance is safe for a careful homeowner: lubrication, sensor alignment, weather seal replacement, and opener reprogramming. Anything involving torsion springs, cables, bottom brackets, or the counterbalance system is professional-only because those parts store lethal energy. Panel replacement, opener motor work, and full installation are best left to a specialist who knows your brand. When in doubt, the safe diagnostic call is free, and the wrong repair is not.
Styles & brands we work with
- Raised-panel steel
- Carriage house
- Modern flush
- Full-view glass
- LiftMaster openers
- Chamberlain openers
Table of Contents
- The Three-Tier Task Classification
- Safe DIY: Tasks You Can Confidently Handle
- Risky DIY: What Changes the Moment You Touch It
- Why Torsion Springs Are Professional-Only
- How DIY Repairs Affect Your Manufacturer Warranty
- The Real Cost Comparison: DIY vs Professional
- Common Mistakes to Avoid
- When to Call a Professional
The Three-Tier Task Classification
We sort garage door work into three buckets based on two things: injury risk and warranty risk. Not liability hedging, not upselling. Just an honest read on what the job actually involves.
Tier 1 – Safe DIY. These tasks involve no stored energy and no load-bearing components. A homeowner with basic tools and patience can do them well:
- Lubricating hinges, rollers, and tracks
- Aligning or cleaning photo-eye safety sensors
- Replacing the bottom weather seal
- Reprogramming remotes and keypads
- Adjusting opener travel limits and force settings
- Tightening visible track bolts and hinge screws
Tier 2 – Risky DIY. These jobs look approachable in videos but involve load or alignment that can go wrong fast. We’d rather you didn’t attempt them, but here’s what a careful homeowner must understand before deciding:
- Track realignment beyond a minor nudge
- Roller replacement (the door must be fully supported and locked first)
- Opener motor or logic board replacement
- Bracket or hinge replacement on a loaded section
Tier 3 – Professional-only. Non-negotiable. These involve springs, cables, or the counterbalance system:
- Torsion spring replacement or adjustment
- Extension spring replacement or adjustment
- Cable replacement or re-spooling
- Bottom bracket replacement
- Drum or shaft work
- Full door installation or replacement
Cherry Creek homes often have overhead-mounted torsion systems, and the tight clearance in many local garages makes the spring work even less forgiving than in a wide-open suburban bay. If your system is a torsion setup, Tier 3 applies.
Safe DIY: Tasks You Can Confidently Handle
These are the jobs we actively encourage homeowners to take on. They save you a service call and they’re genuinely low-risk. Each of these can be done in a single afternoon with basic tools.
Lubrication
- Close the door completely and disconnect the opener by pulling the release cord.
- Wipe down the tracks with a dry cloth to remove grit.
- Apply a garage-door-specific lubricant (not WD-40) to hinges, rollers, and the spring coils.
- Open and close the door by hand a few times to work the lubricant in.
- Reconnect the opener and test the balance by hand halfway up.
Do this twice a year. Colorado’s dry air and temperature swings work dust and grit into moving parts faster than a coastal climate would.
Photo-Eye Sensor Alignment
The two sensors at the bottom of your tracks should have a steady light on each. If one is blinking, the beam is broken or misaligned. Loosen the wing nut, nudge the sensor until the LED goes solid, and tighten. Clean both lenses with a soft cloth. Nine times out of ten, that’s the whole fix.
Weather Seal Replacement
The rubber strip along the bottom edge of the door keeps out cold air, water, and pests. When it cracks or flattens, you’ll feel a draft. Slide the old seal out of its retainer, cut the new one to length, and push it in. It’s a 20-minute job and a real comfort improvement on a windy Cherry Creek day.
Opener Reprogramming
Lost a remote? Replace and reprogram one on your Chamberlain or LiftMaster unit in under five minutes using the learn button on the motor head. Travel and force settings are also adjustable from the opener panel or by following the model-specific sequence in your manual. These adjustments are safe and reversible.
Risky DIY: What Changes the Moment You Touch It
These tasks sit in a gray zone. Someone with mechanical experience, the right tools, and a fully secured door can sometimes pull them off. But three things routinely catch homeowners out:
- The door looks balanced when it isn’t. A door resting against a slightly uneven floor can hide an unbalanced spring.
- The rollers are under tension. Removing a loaded hinge or roller can release the door’s stored weight in an instant.
- Opener parts vary by brand. A logic board from a Genie won’t fit a Chamberlain motor head, and the wire harness pinouts don’t match either. Buy the wrong part and you’re out the money and still need a repair.
If you attempt one of these, do it with the door closed, the opener disconnected, and a second person standing by. If anything feels wrong – a pop, a shift, a part that won’t seat – stop and put the door back together. That’s not a failure. That’s the job telling you it needs someone who works on your brand every day.
In our experience, most risky-DIY attempts that end in a service call started with an opener that “just needed a reset” or a roller that “looked loose.” The fix is usually fast once we’re there, but the diagnosis matters, which is why we treat garage door opener repair as its own specialty rather than a bolt-on to general door work.
Why Torsion Springs Are Professional-Only
A torsion spring is a tightly wound coil of steel that transfers energy to your door through a shaft and cables. When it’s wound, that steel is holding hundreds of pounds of force. If it releases suddenly, or if you’re in the wrong place when a cable snaps, you can be seriously hurt.
The danger doesn’t come from technique, and it doesn’t come from how many tutorials you’ve watched. It comes from physics. Here’s what makes the job genuinely different from what a video can teach:
- You need winding bars, not screwdrivers. A screwdriver in a spring cone can slip out under load and become a projectile.
- You need to know your wire gauge and cycle rating. The wrong spring fails prematurely or, worse, breaks dangerously.
- You need to set the exact number of turns. A spring wound unevenly can throw the door off balance and stress the cables.
- You need to test the counterbalance with the opener disconnected. A door that seems fine under power can drop when the opener lets go if the balance is wrong.
For the record: if you’re standing in front of a torsion spring right now, don’t touch it. This is one of the highest-risk jobs in home maintenance, which is why garage door repair callouts involving springs are treated as priority work. We send technicians trained specifically for spring work, not someone who’ll improvise.
A related caution: cables, drums, and bottom brackets are all part of the same counterbalance system. Anything that holds tension belongs on the professional-only list. If you hear a loud bang from the garage and the door won’t lift, that’s a spring failure. Leave it and call.
How DIY Repairs Affect Your Manufacturer Warranty
Manufacturer warranties on LiftMaster, Clopay, Chamberlain, and Genie products typically cover defects in materials and workmanship – not damage from improper installation or repair. Those limits become real when a DIY fix causes a failure.
What matters most:
- Installation voids are the big one. Springs, cables, and drums installed by a non-professional often void the door or spring warranty entirely. Check your paperwork.
- Opener warranty exclusions. Opener manufacturers generally exclude damage from incorrect wiring, wrong voltage, or mismatched accessories. If you wire a new logic board incorrectly, you own the cost.
- Panel warranties. Door panel warranties usually survive minor cosmetics but not structural modification. If you drilled through a panel to mount something, the warranty may not cover a future dent or delamination.
The practical rule: anything on a spring, cable, or drum is a warranty-sensitive component. Repairs there should be done by a technician so the paperwork stays clean. Tier 1 tasks are almost never a warranty issue.
The Real Cost Comparison: DIY vs Professional
Let’s run the honest math. Sometimes DIY wins. Sometimes it doesn’t.
Where DIY Wins
- Lubrication: $10-$15 for a can of door lubricant. Replaces a service call entirely.
- Weather seal: $15-$40 for the seal itself. Installs in under half an hour.
- Remote reprogramming: $0. A manual and five minutes.
- Sensor alignment: $0. A screwdriver and a steady hand.
Where It Gets Close
- Opener motor replacement: A DIY replacement motor for a Chamberlain or Genie in the $150-$300 range plus a few hours of labor versus a technician charge that includes diagnostics and setup. The gap narrows once you factor in getting the travel limits and force sensitivity right.
Where DIY Loses
- Torsion spring replacement: A pair of springs runs roughly $40-$80 in parts. But a mistake can mean a broken door panel or a hospital visit, both of which cost far more than the labor. This is the one job where the “savings” of DIY are mostly imaginary.
- Cable replacement: Same story. Parts are cheap. A cable under load is not a place to learn.
- Full door installation: Panel alignment, track spacing, and tensioning all need to be right together. Getting one wrong means the door wears unevenly for years.
Before you buy anything, get a free estimate. We’ll tell you honestly whether a job is worth doing yourself. Call (844) 621-5482 for a quote – the written estimate sets the final price, and we quote and agree on the price before any work begins.
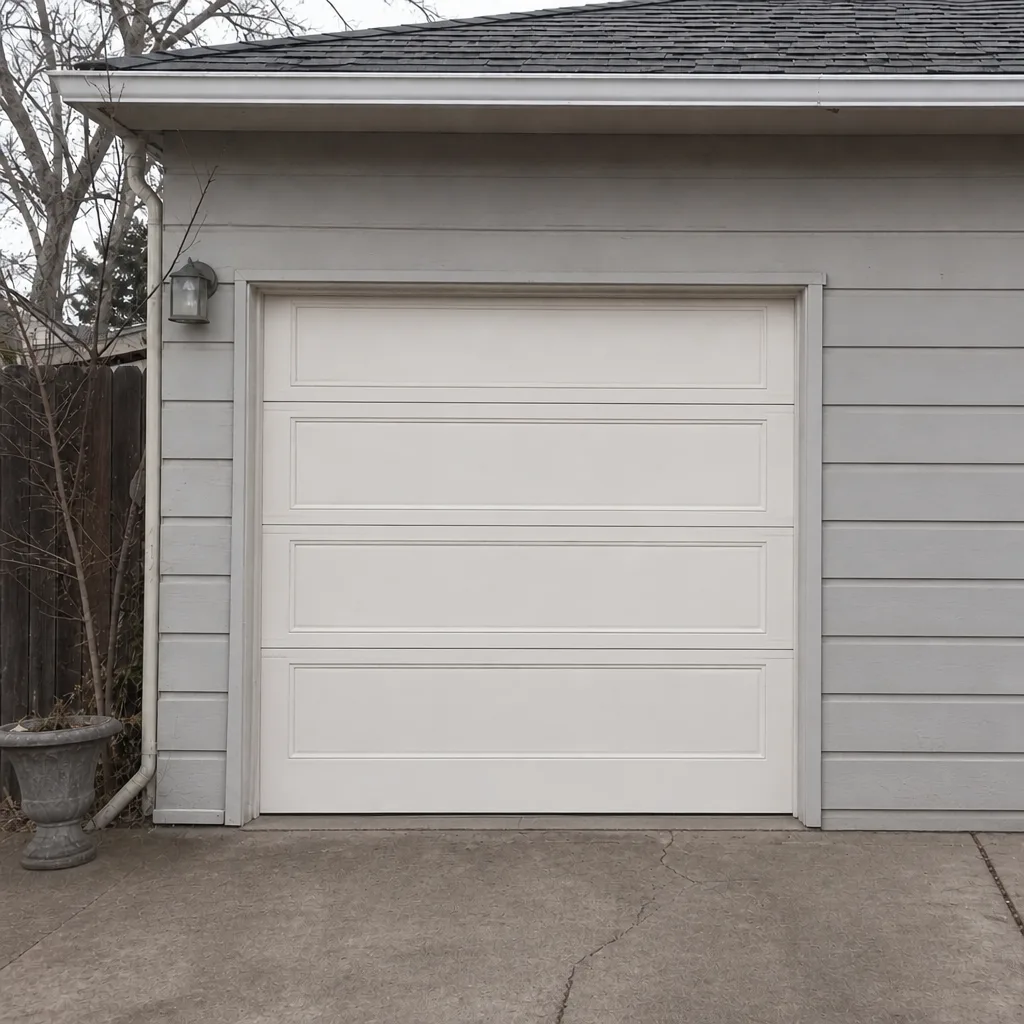
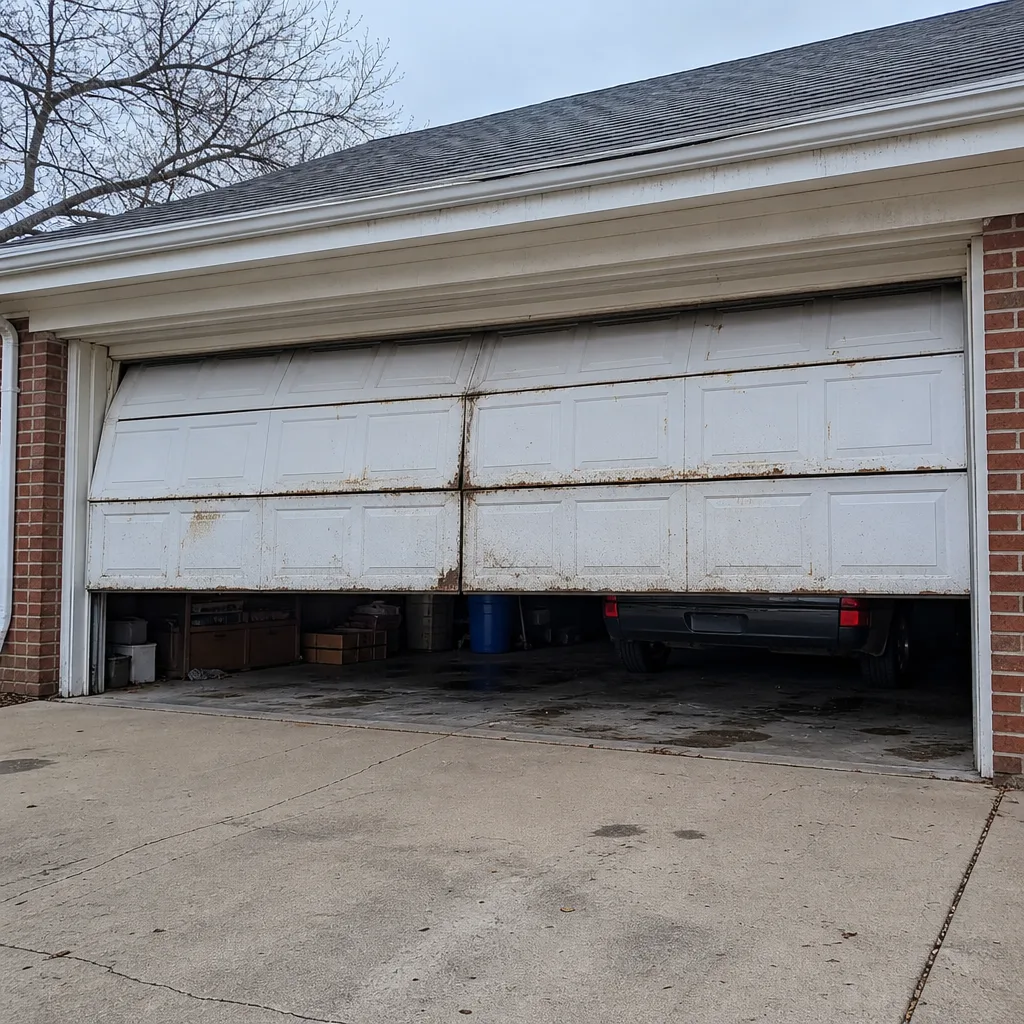
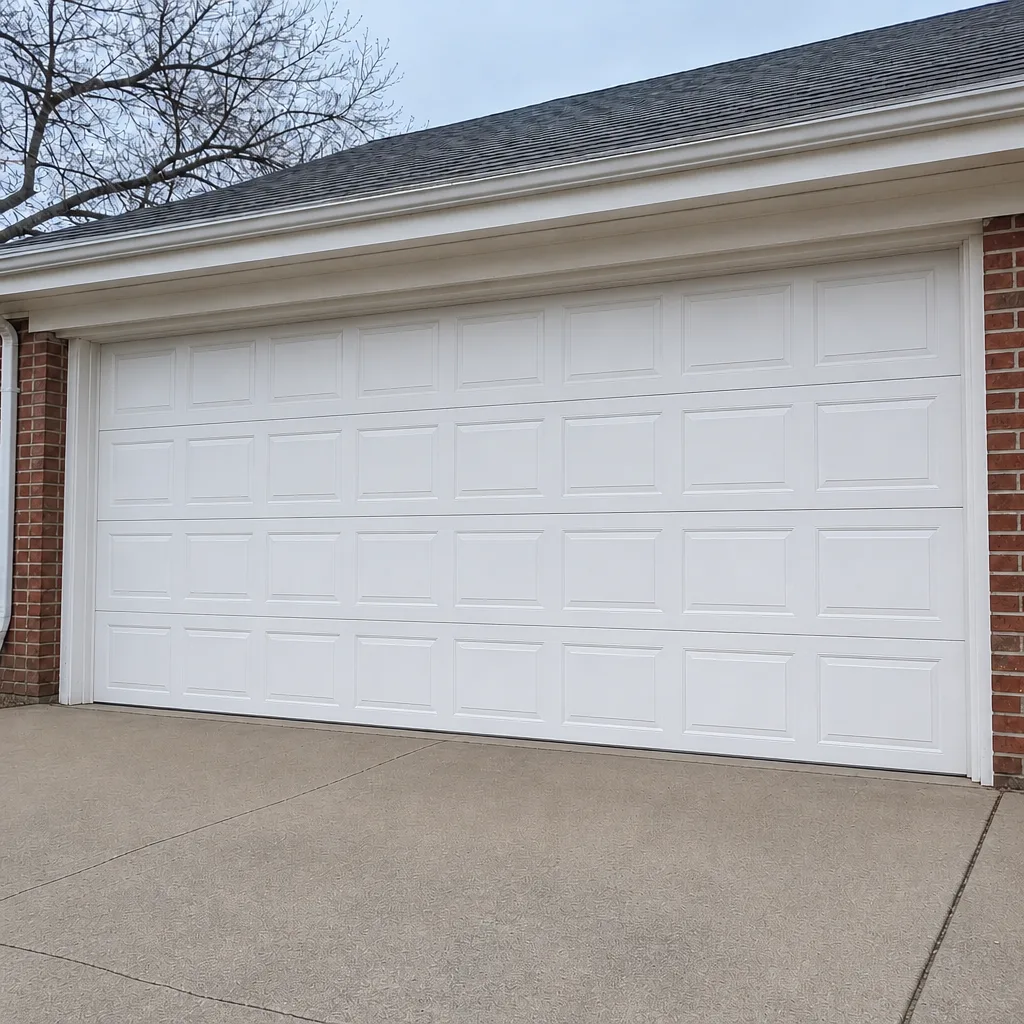
See the difference
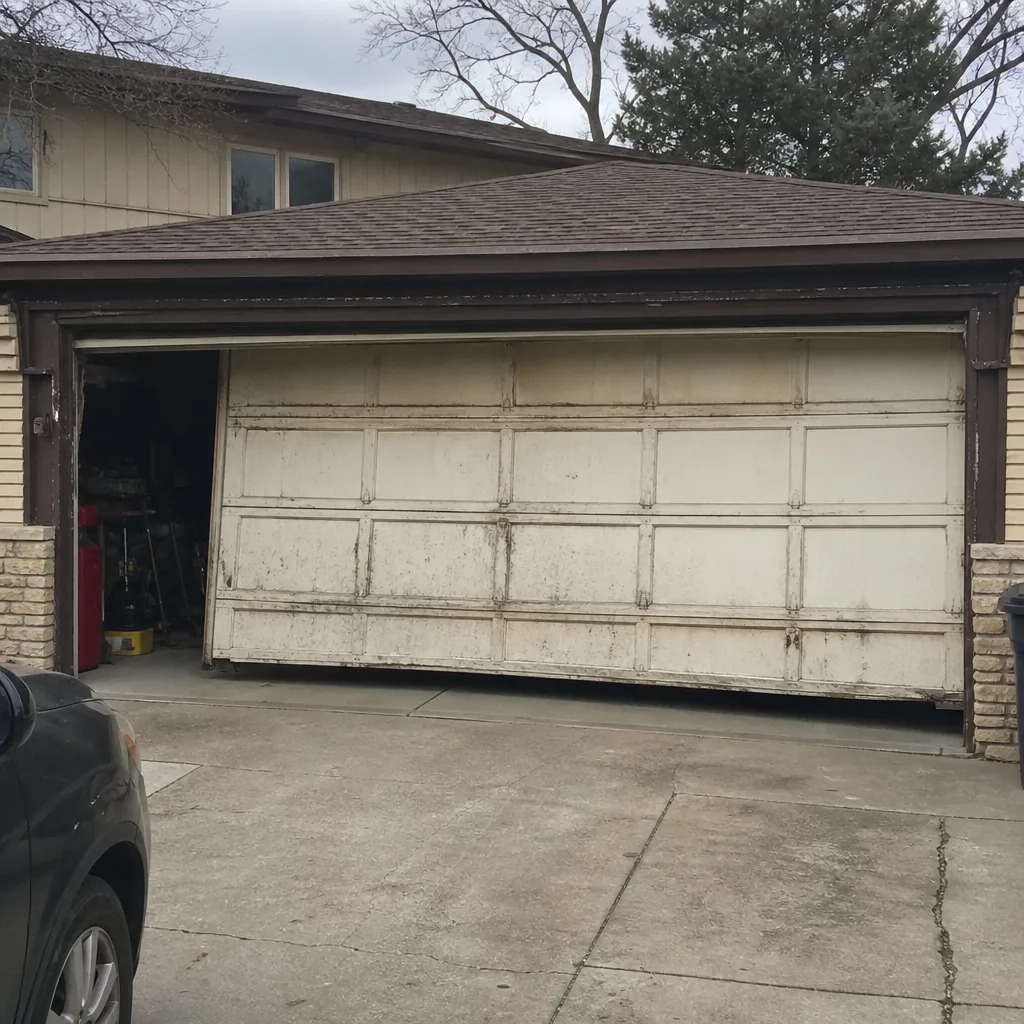 Before
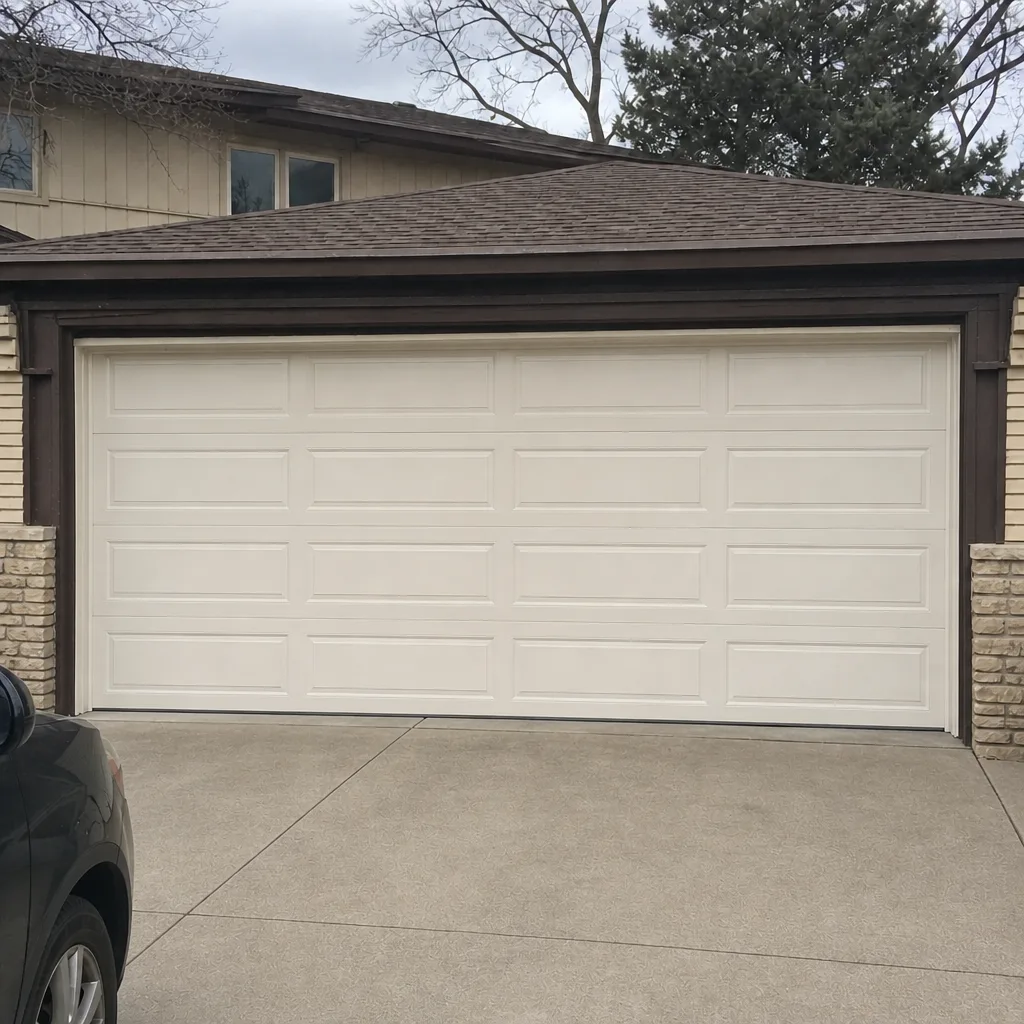 After
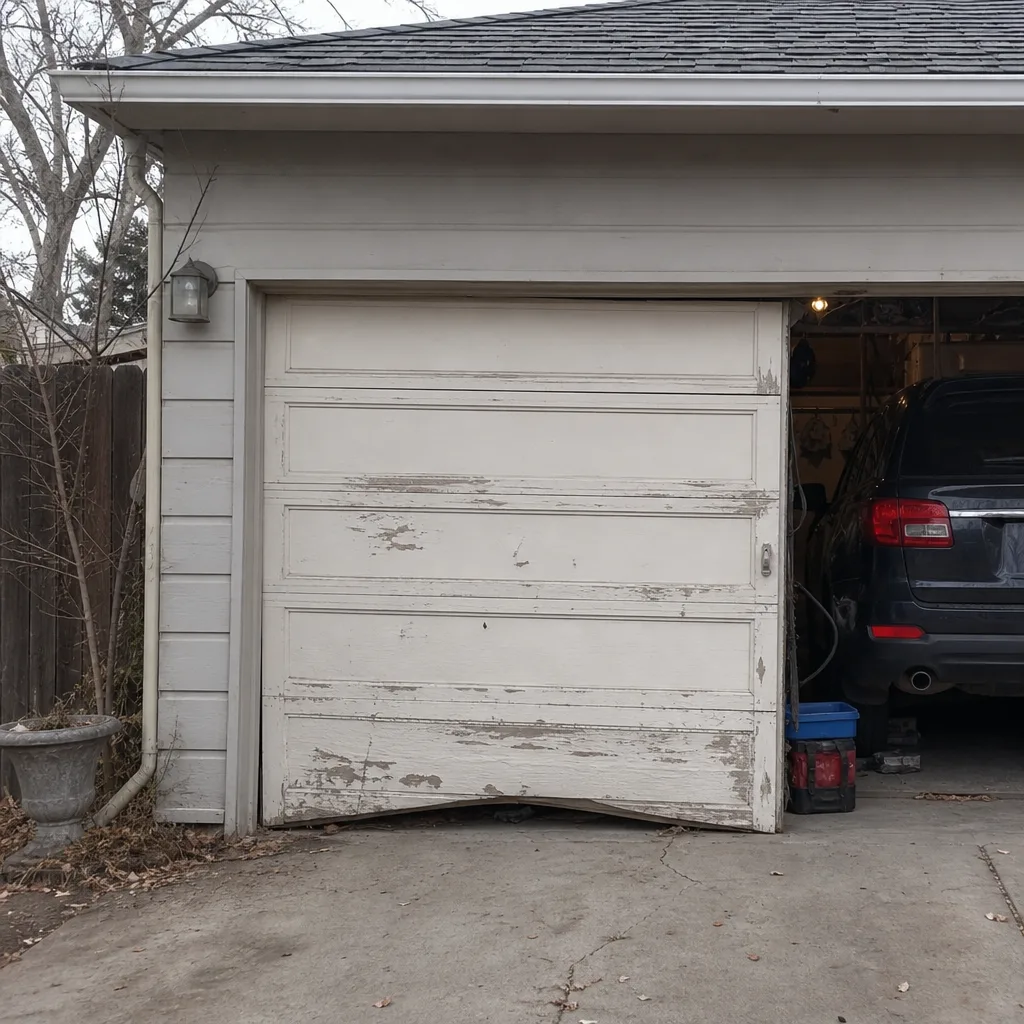 Before
 After
 Before
 After
What a Typical Spring Repair Looks Like, Start to Finish
We’re including this section because the process is the least understood part of a spring repair, and knowing how it goes makes the decision easier. A typical pair-of-spring replacement in Cherry Creek involves a handful of steps:
- Confirm the door is fully closed and the opener is disconnected.
- Measure the old springs (wire gauge, inside diameter, length) and match them to the correct replacements.
- Secure the door, then carefully release tension from the old springs using winding bars.
- Remove the old springs, install the new ones, and wind them to the correct number of turns.
- Reconnect the cables and drums, then open and close the door by hand.
- Test balance with the opener still disconnected. A properly balanced door stays halfway up on its own.
- Reconnect the opener, adjust force and travel if needed, and test with the safety sensors.
Springs are matched to the door’s weight, and a pair is almost always replaced together – if one has broken, the other is usually near the end of its life too. Materials are modest. Labor is the bulk of the job. That’s why the labor cost feels high: it’s a trained two-person job with real risk at every step. Our technicians have up to 12 years of experience and work on LiftMaster, Chamberlain, Genie, Clopay, Amarr, Wayne Dalton, Craftsman, and Raynor systems, so the diagnosis happens before the parts arrive. Parts supply is handled in-house, which cuts out the wait that comes from ordering through a big-box retailer. If you need garage door installation rather than a repair, the process is measured, ordered, and scheduled: we come out to measure first, then a written price, then the install.
Common Mistakes to Avoid
- Using WD-40 on the tracks and springs. It attracts dust rather than lubricating, and a gummy track wears out rollers. Use a garage-door-specific lubricant.
- Trying to force a door that won’t open. If the door won’t move, something in the counterbalance system has failed. Forcing it can bend the panels or snap a cable.
- Adjusting springs using pliers or vice grips instead of winding bars. This is the leading cause of the most serious garage door injuries, and no tutorial justifies the risk.
- Ignoring an unbalanced door. If your door drifts down when opened manually halfway, the spring tension is off. That’s a service call, not a tweak.
- Replacing one spring when both are old. In a pair, the second spring usually fails within months of the first. Replace both.
- Buying a “universal” spring. Springs are matched to wire gauge, inside diameter, and length. The wrong ones can fail fast.
- Reprogramming the opener without checking the safety sensors. If the sensors are misaligned, a new remote programming won’t fix an intermittent door. Check sensors first.
Cherry Creek’s dry winters also cause seals and tracks to dry out and warp faster than in humid markets. Check the bottom seal each fall and look for hairline cracks in the rubber before they open into gaps.
When to Call a Professional
Call us when the job involves springs, cables, or drums. Call when your door is off track, sagging, or making a popping or grinding noise. Call when the opener runs but the door doesn’t move, or when the door reverses for no apparent reason. Call when a panel is bent or dented, when the door is out of balance, or when you’re not sure what’s wrong. Finally, call when you’re replacing a door, upgrading to a new opener, or considering a smart-home opener that needs to integrate with your existing system.
Garage Door Repair Cherry Creek offers free estimates in Cherry Creek – call (844) 621-5482. Same-day service is often available on repairs, and prices are quoted before any work starts.
Frequently Asked Questions
No. Torsion spring replacement involves stored energy strong enough to injure you seriously, and it requires winding bars, correct spring matching, and a properly balanced door. This is the one task we tell every homeowner to leave to a trained technician.
It can, depending on the component. Spring, cable, and drum installation by a non-professional typically voids the spring or door warranty, and opener parts damaged by incorrect wiring are usually excluded. Small maintenance tasks like lubrication and sensor alignment don’t affect the warranty.
Spring replacement in Cherry Creek typically falls in the $180-$340 range for one spring, and most repairs replace the pair together for roughly double. The written estimate before any work sets the final price. Call (844) 621-5482 for an exact quote – estimates are free.
Yes, for most repair callouts. We offer same-day service and fast dispatch from 7am to 7pm. Call (844) 621-5482 and we’ll tell you what’s available. If you’re on a Saturday, we’ll book you for Sunday.
No. The price we quote is the price you agree to before work starts. If we find something more once we’re on site, we stop and get your approval on the change before we proceed.
Yes. The local technician who comes to your door is licensed and insured as Colorado requires. We work with your manufacturer’s warranty documentation and can answer questions about your specific system.
The Bottom Line
The DIY-vs-pro question for garage doors comes down to one clean test: does this job involve stored energy? If yes, call a professional. If no – and you’re doing lubrication, sensor alignment, weather seal replacement, or opener reprogramming – it’s yours to handle. The gray middle, where roller replacement and opener board work live, is where most homeowner frustration begins. The cost math favors DIY for the simple tasks and favors professional work for anything on the counterbalance system. In Cherry Creek, our honest recommendation is this: learn the safe DIY tier cold, and leave the rest to a garage door specialist. That includes brands like LiftMaster, Chamberlain, Genie, and Clopay, and it includes everything from Garage Door Repair Cherry Creek call-outs to full installation.
If you want help sorting out what your door needs, call (844) 621-5482 for a free estimate. We’ll tell you honestly whether you can handle it or whether it’s a professional job.
Written by the team at Garage Door Repair Cherry Creek.